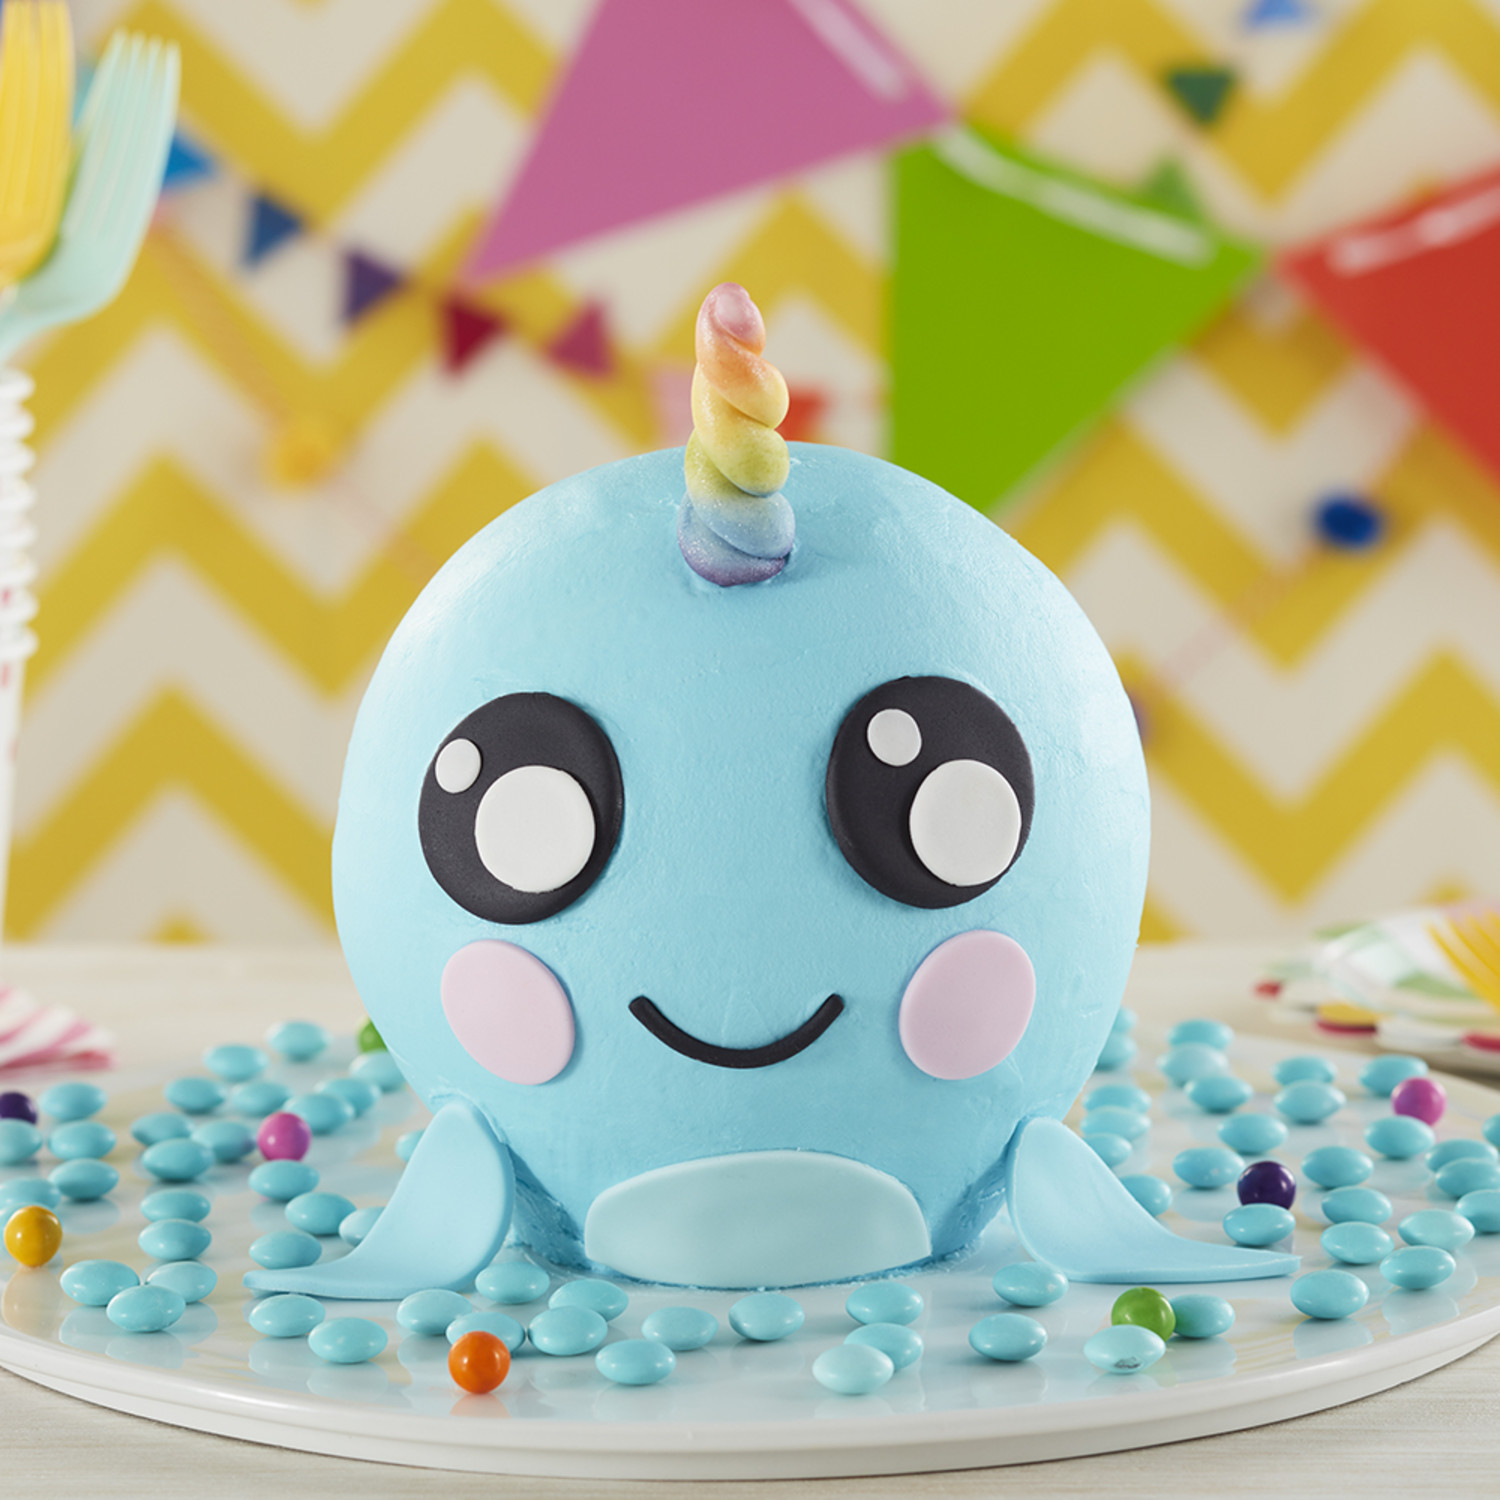
Magical Narwhal Cake

Magical Narwhal Cake

What's more magical than a unicorn? A magical narwhal of course! This adorable Narwhal Cake has swum the ocean blue in search of some birthday fun, and kids of all ages are sure to love this little guy's colorful horn and sweet smile. Made using the Wilton Ball Pan and a combination of cake and rice cereal treats, this cute denizen of the deep couldn't be happier to celebrate! Decorate your Magical Narwhal Cake with blue buttercream and fondant for a super cute dessert that's (almost) just too cute to eat!
  • Skill LevelAdvanced

Instructions

Click to mark complete

  1. One day in advance, make tail fins. Using Sky Blue icing color, tint ½ oz. fondant blue. Using fondant roller with purple guide rings, roll out blue fondant. Using “A” leaf cut-out, cut two tail fins. Let dry for 8 to 10 hours on cornstarch-dusted cake board. Reserve remaining blue fondant for later step.
  2. Bake cake. Prepare cake batter following recipe instructions. Bake and cool cake according to pan directions.
  3. Make rice cereal treats. Prepare rice cereal treats following recipe instructions. Shape cereal treats into cone approximately 3½ in. long. Cone should be 2 x 1½ in. wide at base and ½ x ½ in. wide at tip.
  4. Tint icing. Prepare icing following recipe instructions. Using Sky Blue icing color, tint icing blue. Assemble cake layers according to pan directions.
  5. Assemble cake. Melt Candy Melts candy according to package directions. Place rice cereal cone behind cake for tail, with larger side closer to cake; turn tip of cone upward. Attach tail fins to tip of tail using melted candy. Attach tail to cake using melted candy. Ice cake and tail smooth using blue buttercream. If desired, prepare decorating bag with tip 1A and blue icing. Pipe icing on tail, then smooth with spatula.

    Helpful Hint: Food-safe acetate can be used to get icing on cake smooth.

  6. Make horn. Using ½ oz. white fondant, roll out two cones, measuring 5 in. long (½ in. wide at base, 3/16 in. wide at tip). Starting with large ends, twist cones together to form horn, using damp brush to attach one fondant cone to the other.

    Insert 4 in. lollipop stick into bottom of horn. Using Purple, Periwinkle, Lime Green, Goldenrod, Orange and Deep Pink Color Dust, paint horn, starting at bottom and working towards top. Cover entire horn with White Pearl Dust. Insert into craft block to dry.

  7. Make eyes and mouth. Using Black icing color, tint ½ oz. fondant black. Using fondant roller with pink guide rings, roll out black fondant. Using round cut-out “D”, cut out two circles.

    Also using black fondant, roll log 1¾ in. long and 1/8 in. thick. Curve along round “D” cut-out to get curve for mouth. Set aside on cornstarch-dusted board.

    Roll out ¼ oz. white fondant using fondant roller with pink guide rings. Using round cut-out “F”, cut out two circles. Using narrow end of tip 12, cut out two more white circles, using finger to flatten slightly.

    Using damp brush, attach one large and one small white circle to each black circle. Set aside on cornstarch-dusted board.

  8. Make cheeks. Using Pink icing color, tint ¼ oz. fondant pink. Using fondant roller with pink guide rings, roll out fondant. Using round cut-out “E”, cut out two circles. Set aside on cornstarch-dusted board.
  9. Make front fins. Roll out reserved blue fondant using fondant roller with pink guide rings. Using leaf cut-out “A”, cut two fins. Set aside on cornstarch-dusted board.
  10. Make belly. Using Sky Blue icing color, tint ½ oz. fondant light blue. Using fondant roller with pink guide rings, roll out fondant. Using round cut-out “A”, cut belly. Attach to front bottom of cake, trimming as necessary.
  11. Decorate cake. Attach eyes, mouth and cheeks to cake. Attach front fins. Insert horn.

Notes

How To

Reviews