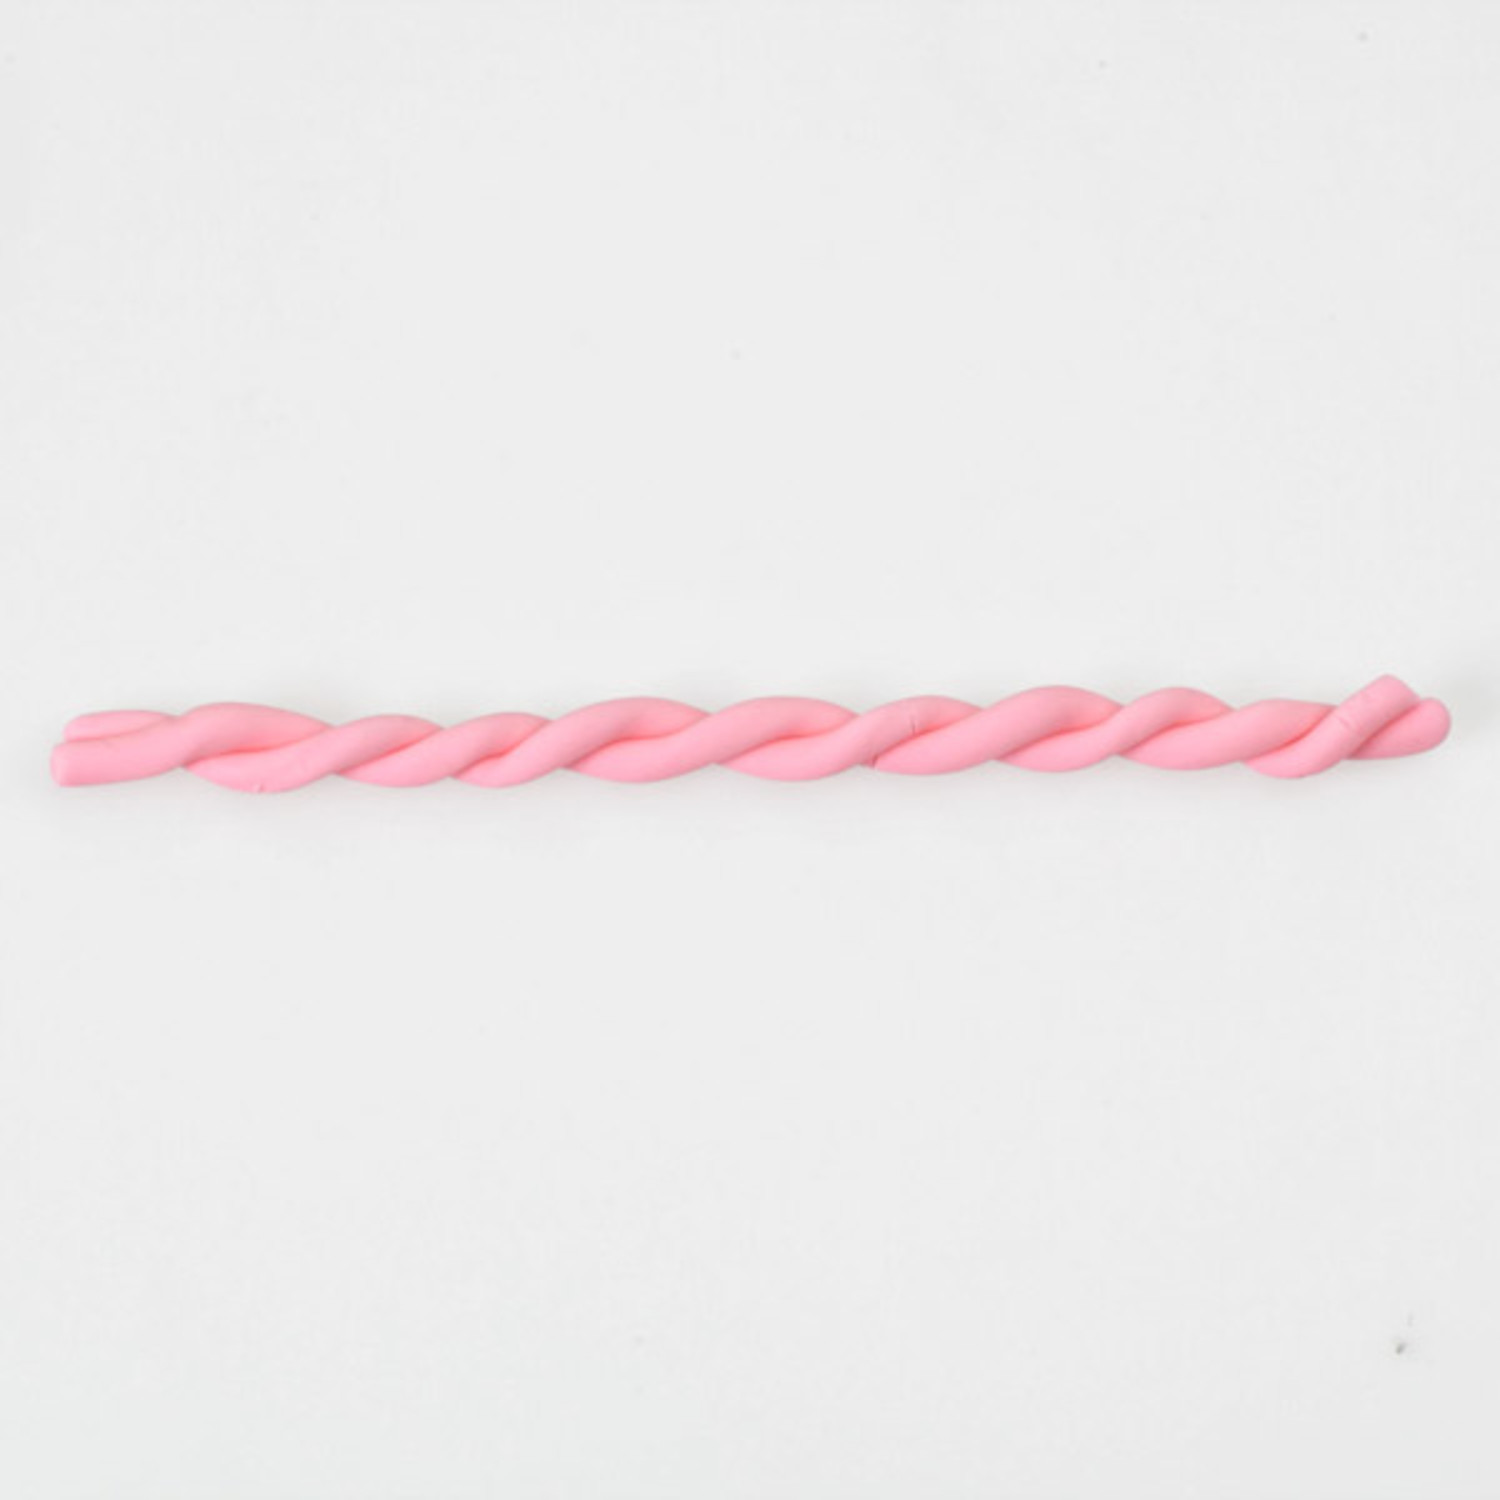
Fondant Rope

Fondant Rope

Fondant ropes are an easy way to add dimension and color to a project. The twisted texture of the rope is outstanding for a cake border, garlands or shaped into candies like candy canes and lollipops. Can be used with the natural twisting look or smoothed out; it can have a tailored look or be fun and casual.

Instructions

Click to mark complete

  1. On Roll-N-Cut Mat or clean surface, knead white rolled fondant to make it pliable. Tint fondant with icing color as directed in your project.
  2. Roll fondant into 2 thin logs on the work surface using the palms of your hands (see project instructions for specific dimensions). You will need 2 pieces of equal length and diameter
  3. Lay the logs side by side. Gently press together at one end to join.
  4. Holding the joined ends in a stationary position, twist the other ends 2 to 3 complete turns. Continue twisting as needed. Gently press ends of logs together.
  5. Hints:

    When rolling logs, use the palms of your hands. Fingers create ridges when rolling the fondant logs.

    For Multicolored Ropes: Follow Rope instructions for rolling individual logs, using 2 or 3 logs in different colors. Follow the same twisting procedure, but twist more loosely to create wider space between colors.

    For a smooth rope, after twisting, roll back and forth on work surface using palms of hands.

    Keep ropes covered with plastic wrap until ready to place on project.

    Attach rope to a fondant covered cake using a damp brush. Moisten cake slightly where the rope will be attached and position the rope, pressing lightly to secure.

    To determine the size of the logs you need, measure the area the rope will be positioned with a string or a ribbon, then roll the logs slightly longer. The twisted rope will be shorter than your logs; the number of times the rope is twisted will determine how much shorter.

Notes

How To

Reviews

Enjoyed this recipe?Why not try one of these!

VIEW ALL RECIPES