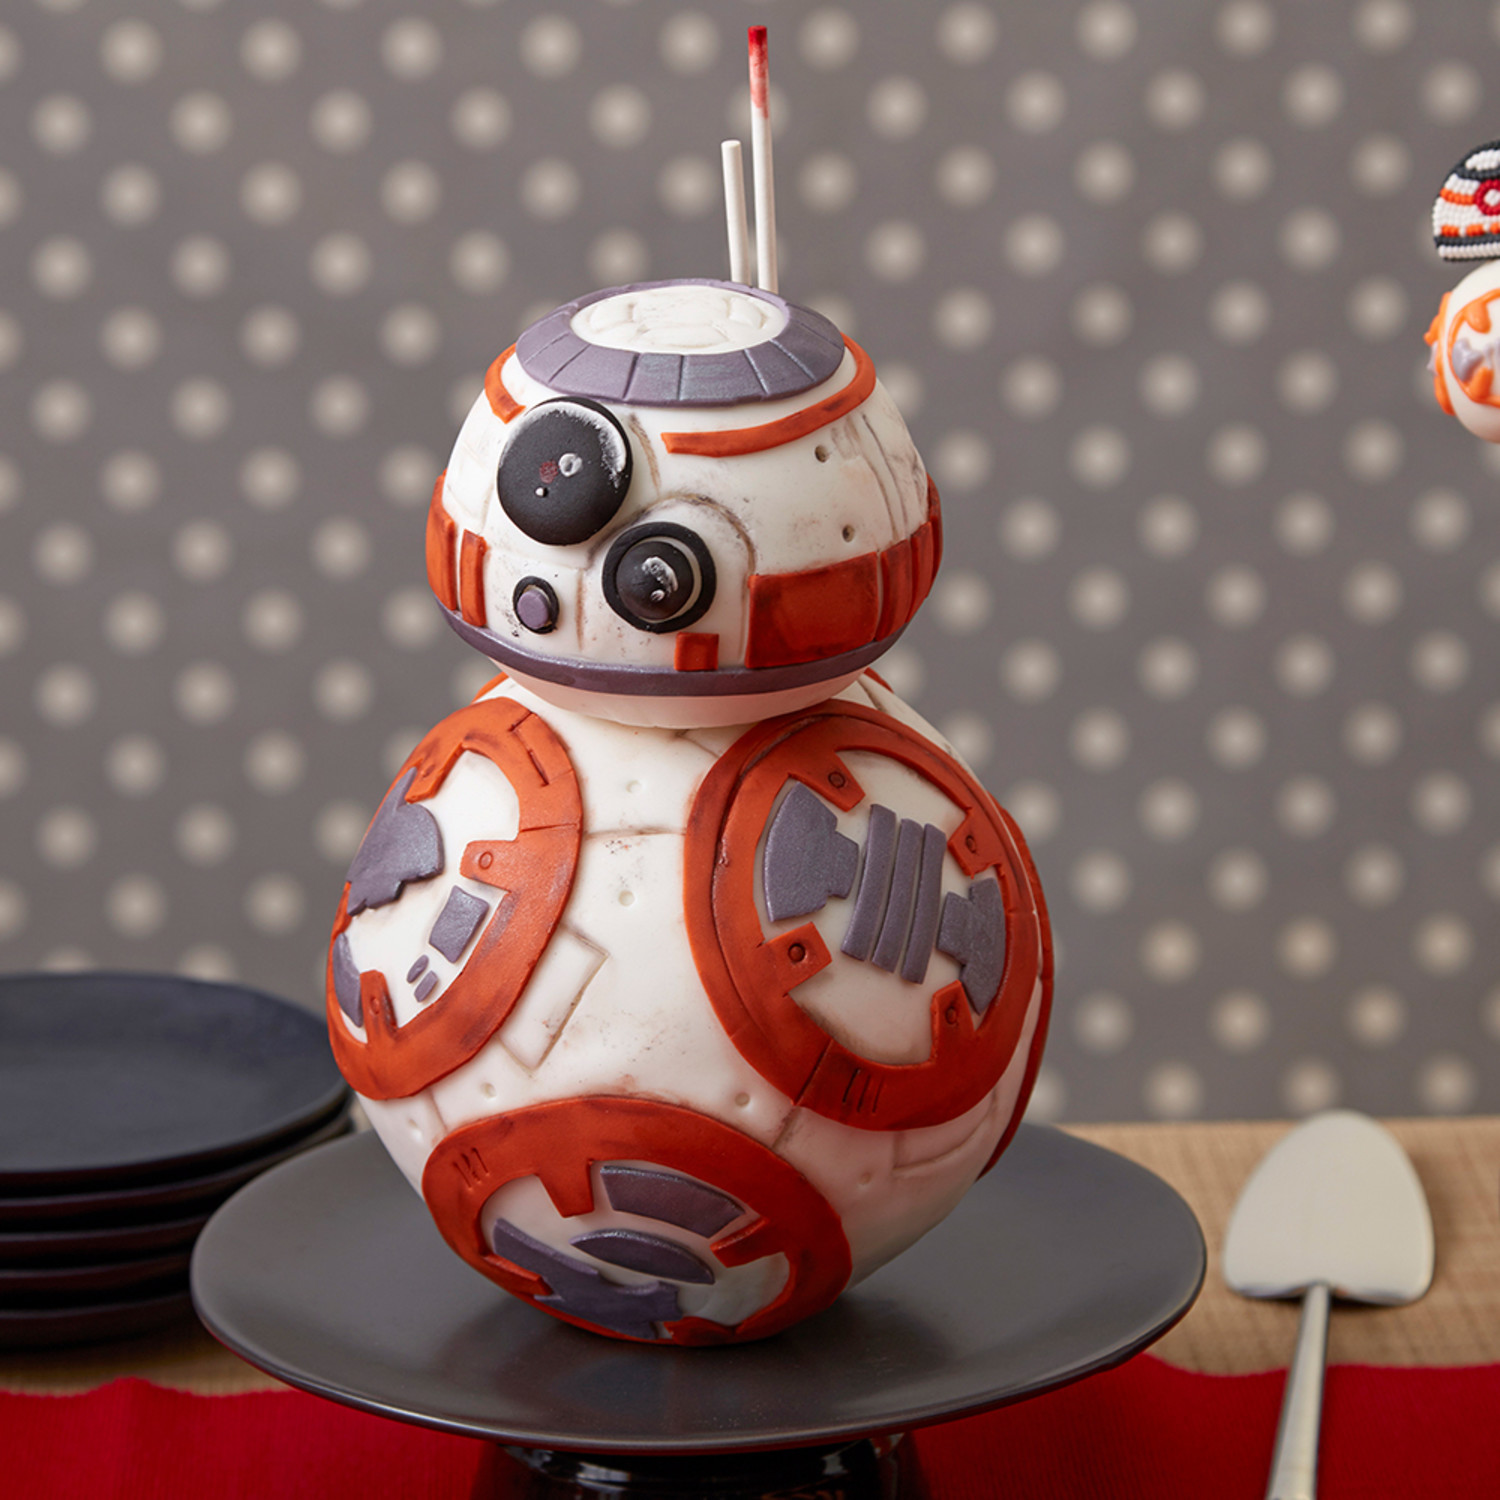
Star Wars BB8 Cake

Star Wars BB8 Cake

The perfect centerpiece to your Star Wars party, this BB8 combines two of everyone's favorites: cake and crispy rice cereal treat. The cake gets its perfect shape from the Sports Ball Pan Set. Decorator Preferred Rolled Fondant creates the perfect surface and details that make this droid look like he jumped off the theater screen.
  • Amount8-10 Servings

Instructions

Click to mark complete

  1. NEEDED: See the Supply List for items you can purchase here. You will also need:
    • Favorite cake recipe or mix (2 ½ cups batter needed)
    • Favorite crispy rice cereal treat recipe
    • Craft knife
    • Toothpick
    • Plastic ruler
  2. Bake and cool sports ball cake. Use your favorite cake recipe or mix.
  3. Make treats crispy rice treats. When mixture has cooled but is still pliable, form a 4 inch ball. Cut about 1 inch off bottom; roll edge on counter to soften cut edge.
  4. Cover cake and cereal treat with fondant. Lightly ice cake and cereal treat with icing. Roll out 28 oz. white fondant to 1/8 inch thickness. Cut as needed to cover cake and treats.
  5. Tint fondant. Tint 10 oz. fondant to orange combining orange, Christmas red and brown icing color. Tint 6 oz. of fondant to gray with black icing color. Tint 1 oz. fondant to black.
  6. Decorate body with fondant. Roll out orange and gray fondant separately to 1/8 inch thickness. Imprint pattern onto fondant using toothpick. Cut pieces using craft knife. Use tips 2A and 12 to cut dots and inside curves from gray fondant. Attach fondant pieces to body cake with damp brush.
  7. Decorate head with fondant. Roll out all fondant to 1/8 inch thickness. Cut a gray circle with straight side of "A" cutter; cut out the center using the straight "C" cutter. Attach to top of head with damp brush. Cut a gray 14 inch x 1/4 inch strip, attach around the bottom of the head. Using the large end of tip 12, cut out a gray circle; set aside.

    Cut an orange 8 inch x 1/8 inch strip. Attach 1/4 inch beneath the top gray circle, leaving a 1 1/2 inch space for the eyes. Cut a 12 inch x 1 inch strip; cut into rectangles of various widths. Attach pieces above the bottom gray strip.

  8. Make fondant eyes. Roll a 1 inch ball of black fondant and flatten slightly to about 1 1/2 inches. Attach for eye, below gray ring at the space in the orange ring. Roll out remaining black fondant to 1/8 inch thickness. Cut a circle using the large end of tip 2A; cut out the center using the large end of tip 12 to make a ring. Attach with damp brush below and to the right of black fondant ball. Roll a 1/2 inch black fondant ball; elongate slightly and attach to center black ring.

    Cut a second ring of black fondant, using small ends of tip 2A and tip 12. Attach with damp brush below the large eye and above the bottom strip; attach reserved gray circle from step 6 to center of ring.

  9. Emboss details. Use the veining tool to emboss pattern details on the head and body. Use craft knife to lightly emboss lines on gray ring on head. Use the small end of tip 3 to mark small screw indents on head and body.
  10. Add color detail. Mix together equal parts brown Color Dust and orange Color Dust. Brush along the edges and embossed details of the orange fondant pieces. Brush black Pearl Dust along the embossed detail of the white body parts. Combine 1 teaspoon silver Pearl Dust and 1/2 teaspoon lemon extract. Brush over grey fondant pieces.

Notes

How To

Reviews